
Are you ready to tackle the task of installing a dishwasher in your home? Don’t worry, we’ve got you covered.
In this step-by-step guide, we’ll walk you through the process of:
- Choosing the right dishwasher model
- Preparing the installation area
- Connecting the water supply
- Installing the drain line
- Troubleshooting any issues that may arise.
Get ready to enjoy the convenience of a brand new dishwasher in no time!
Key Takeaways
- Consider the specific features required, such as adjustable racks and specialised wash cycles.
- Determine the appropriate capacity and energy efficiency rating based on household size and usage frequency.
- Research reputable and reliable dishwasher brands with good customer reviews.
- Prepare the installation area by measuring the dimensions, ensuring levelness, and stability before proceeding with installation.
Choosing the Right Dishwasher Model
Before you can install a dishwasher, you need to choose the right model for your needs. When it comes to selecting a dishwasher model, there are a few key factors to consider.
First, think about the specific features you require. Do you need a dishwasher with adjustable racks, a third rack for silverware, or a specific wash cycle for delicate items?
Consider your household size and how often you plan to use the dishwasher to determine the appropriate capacity and energy efficiency rating.
Additionally, it’s important to research different dishwasher brands to find one that’s reputable and reliable. Look for brands with good customer reviews and a history of producing high-quality appliances such as dishwasherrepairs.com.au.
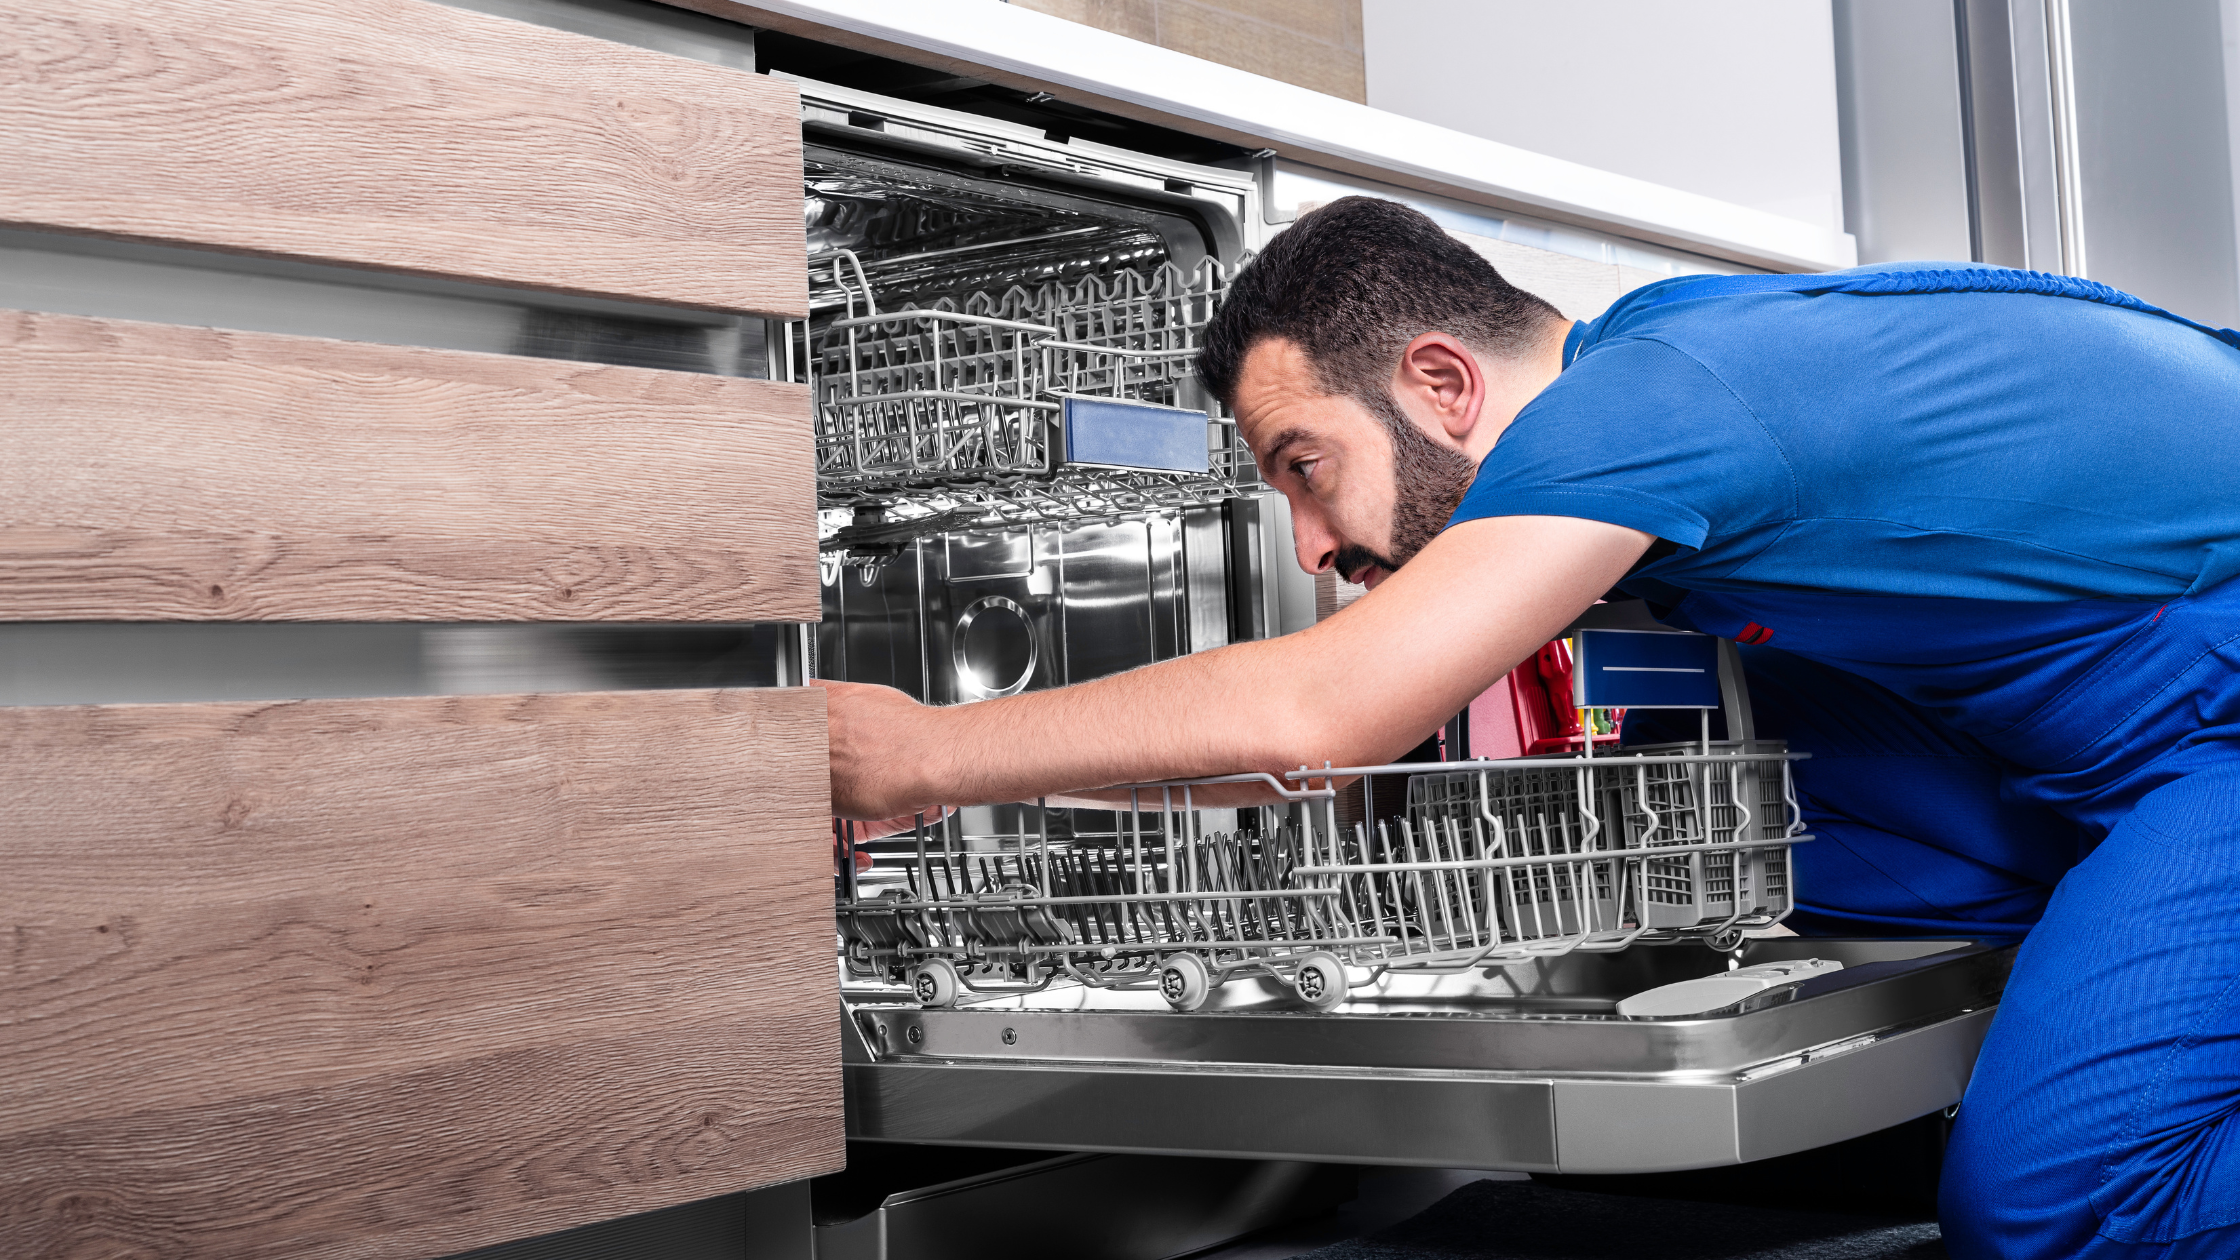
Preparing the Installation Area
To begin preparing the installation area for your dishwasher, gather all the necessary tools and materials. You’ll need a measuring tape, a level, a pencil, and shims.
First, measure the dimensions of the dishwasher to ensure it will fit in the designated space. Measure the width, depth, and height, taking into account any additional clearance required.
Next, use the level to ensure that the installation area is perfectly level. This is crucial for proper functioning of the dishwasher. If the floor isn’t level, use shims to adjust the height of the dishwasher and make it level. Place the shims under the feet of the dishwasher until it’s stable and doesn’t wobble.
Once the installation area is measured and leveled, you’re ready to proceed with the installation process.
Connecting the Water Supply
How do you connect the water supply for your dishwasher installation? Follow these step-by-step instructions to ensure a successful water supply connection for your dishwasher installation, while meeting all the necessary dishwasher installation requirements.
- Locate the hot water supply valve under your kitchen sink and turn it off.
- Attach a 3/8-inch compression fitting to the hot water supply valve.
- Connect the other end of the compression fitting to the dishwasher’s water inlet valve.
- Tighten the compression fitting using an adjustable wrench to ensure a secure connection.
- Once the connection is secure, turn on the hot water supply valve.
- Check for any leaks around the water supply connection.
- If there are no leaks, proceed with the rest of the dishwasher installation.
Installing the Drain Line
Connect the dishwasher’s drain line to the kitchen sink’s drain pipe. This step is crucial for proper drainage and preventing water from backing up into the dishwasher. Here are some drain line installation tips to help you get it right:
- Locate the dishwasher’s drain outlet, usually located at the back of the machine.
- Measure and cut the drain line to the appropriate length, ensuring a secure fit between the dishwasher and the sink’s drain pipe.
- Attach one end of the drain line to the dishwasher’s drain outlet using a hose clamp.
- Connect the other end of the drain line to the sink’s drain pipe, again using a hose clamp.
- Ensure that the drain line isn’t kinked or bent, as this can cause drainage issues.
- Test the drain line by running a short cycle to check for leaks or clogs.
If you encounter any common drain line issues, such as slow drainage or water backup, consider checking for clogs or obstructions in the drain line. Additionally, make sure the drain line is properly installed and securely attached to prevent leaks.
Testing and Troubleshooting
Once the drain line is properly installed, you can now test and troubleshoot the dishwasher for any potential issues. To ensure the dishwasher is functioning correctly, follow these steps:
- Fill the dishwasher with water: Start by pouring a gallon of water into the bottom of the dishwasher. This will help you check for any leaks in the drain line or connections.
- Run a test cycle: Close the dishwasher door and select a test cycle. Allow the dishwasher to go through the entire cycle, paying close attention to any unusual noises or leaks.
- Check for proper drainage: After the test cycle is complete, open the dishwasher and inspect the drain line. It should be completely clear of any debris or blockages.
- Troubleshooting common issues: If you encounter any problems during testing, consult the dishwasher’s user manual for troubleshooting tips. Common issues include clogged spray arms, malfunctioning heating elements, or a faulty control panel.